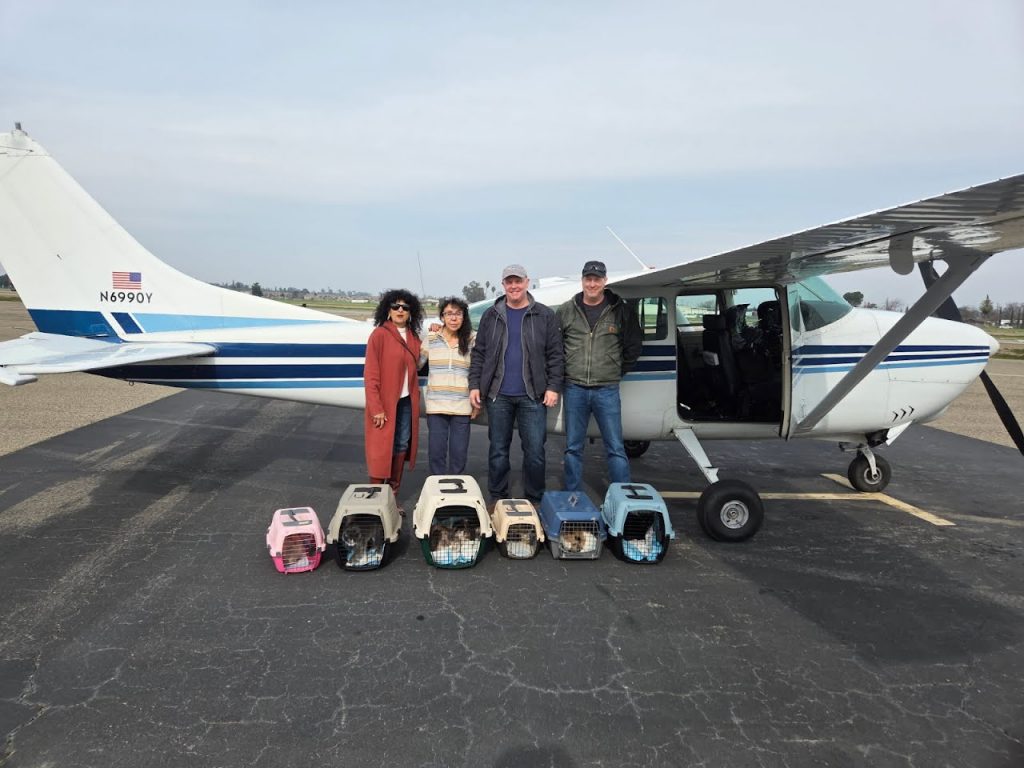
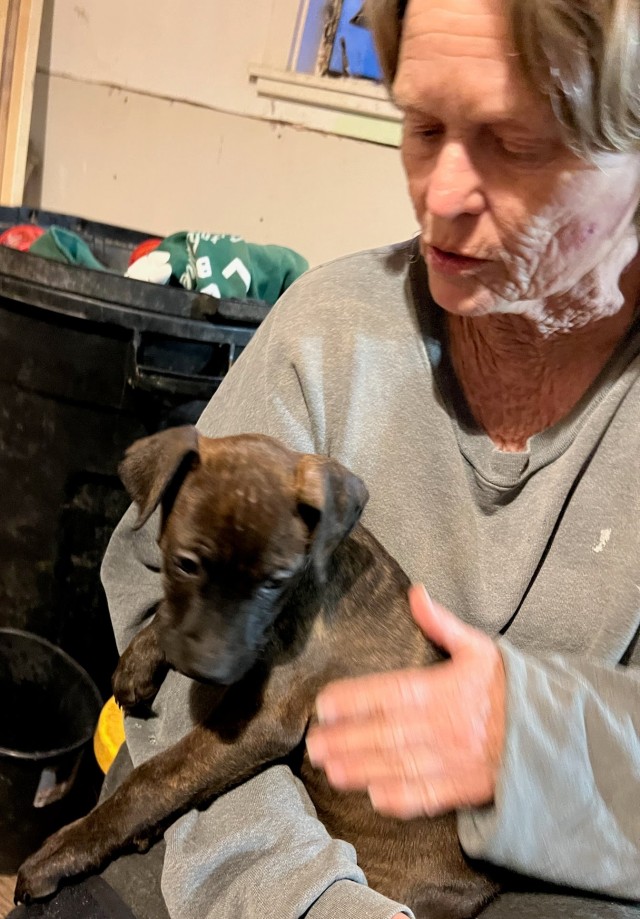
It turns out that herding cats isn’t as bad as people make it sound. However, it was definitely made easier with several rescue volunteers, a friend from the Bay Area visiting and six (6) pet crates!
We’re Going To Need A Bigger Boat…..err….. Airplane! Wait. Never Mind, This Is A Centurion!
Mona (left), Mary (second from left), myself and Jason (right) taking inventory of all these cats before solving the Tetris puzzle of fitting the crates inside the airplane. We were expecting ten cats, but one just couldn’t be parted with, so we took nine.
This flight turned out to be very uneventful. The biggest issue was the logistics of segregating the cats so that they would be okay to travel in the same crate and sourcing enough crates for them all. Thankfully the other volunteers had crates to spare both on the sending and receiving end to make it happen.
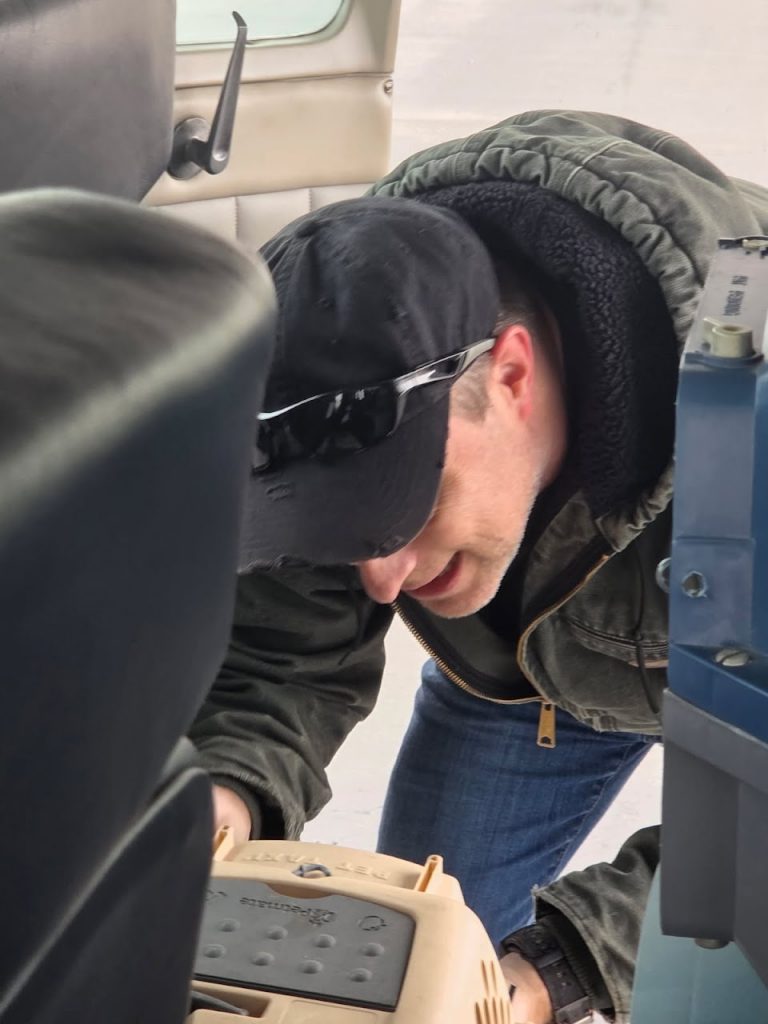
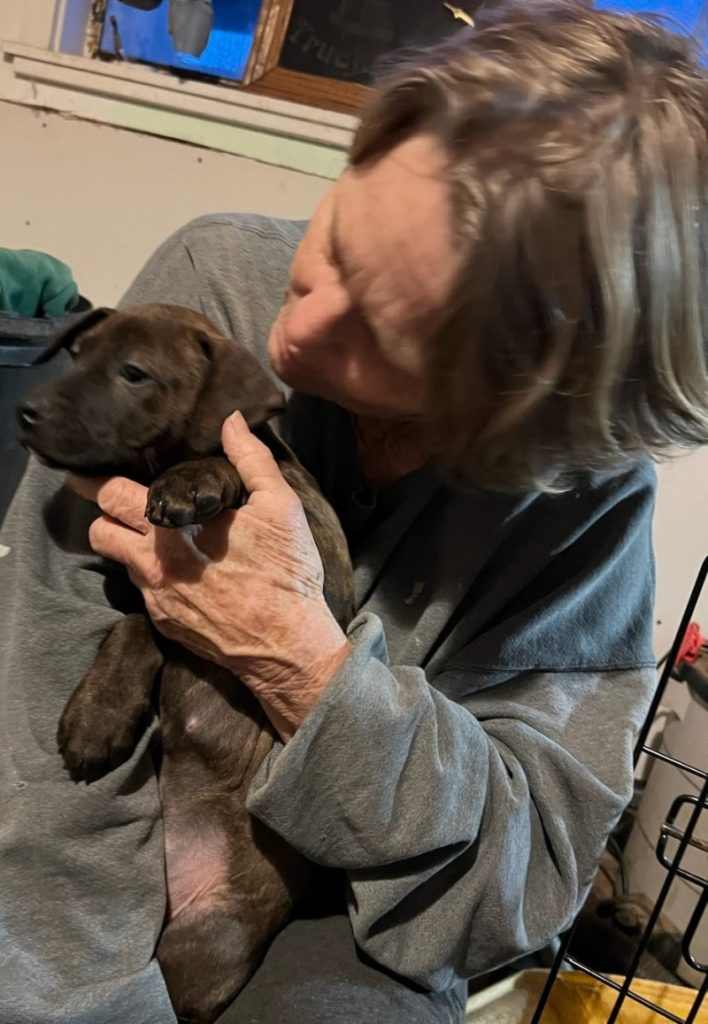
Volunteer Passenger Jason Loading Cats.The Weather Was Perfectly Calm For The Flight Which Made This Arrangement Possible.
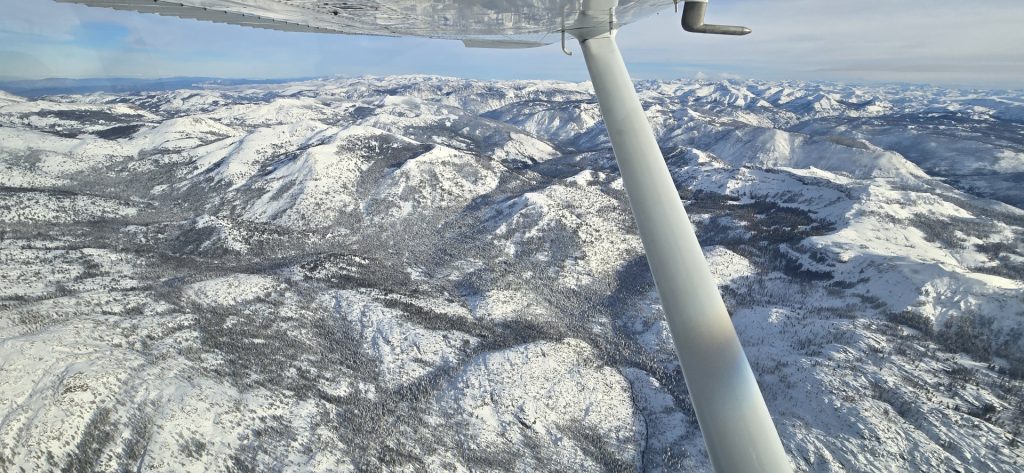
Cool weather and a long-lasting high pressure system made the flight hazy, but very calm with almost zero wind all the way up around 13,000 feet.
Smooth Flight On The Way Back To Carson City.
We met with Jolene at the Mountain West FBO and she took the critters to PetSmart and had four of them adopted in less than three (3) hours after landing!!!
Since Facebook wants to monopolize your attention I can’t embed Mona’s FB post here. You’ll need to follow the link below for more photos and a video of our takeoff out of Fresno-Chandler Executive airport:
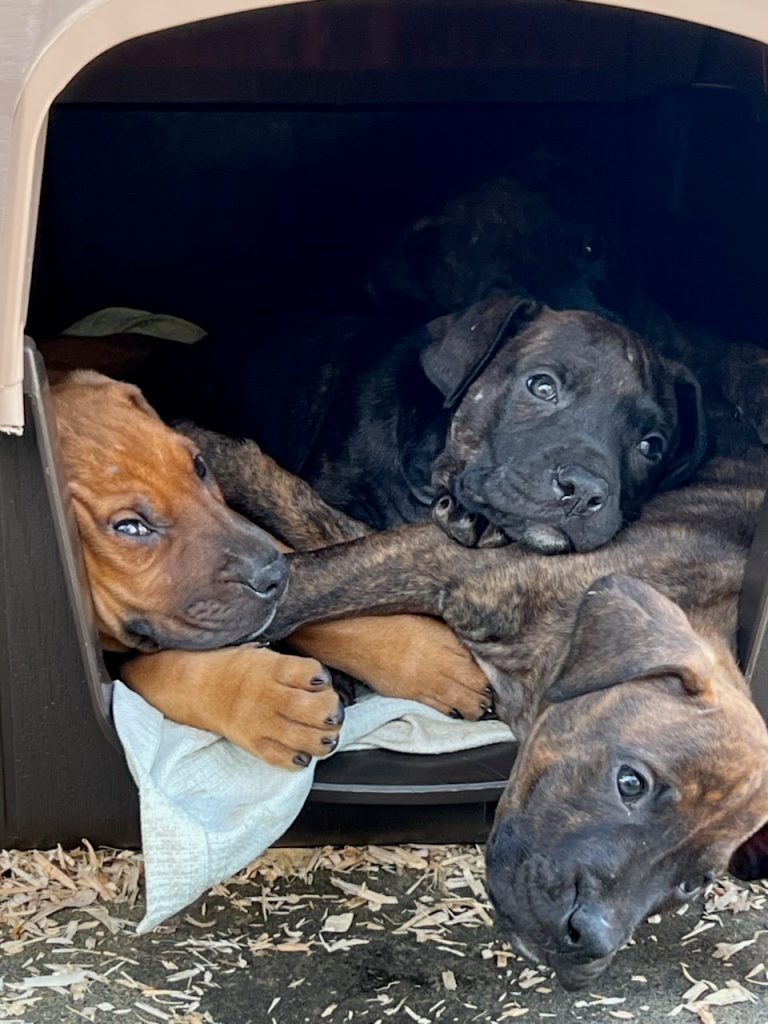
Our most rewarding rescue flight to date! Five abused puppies were found, rescued, fostered back to health in Visalia and we were fortunate to be the ones to provide a flight to Carson City for Boxers and Buddies, an adoption group based in Virginia City.
Holding A Couple Of The Puppies In Visalia Before The Flight.
WARNING: Do not scroll to the end of this post if you do not want to see the puppies in the state they were rescued in.
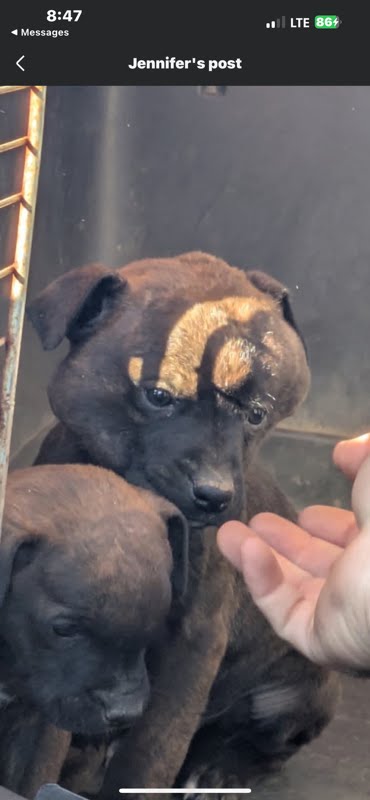
These five puppies were found abused with swollen heads where they had been beaten by the original “person” that owned them. Simply unbelievable.
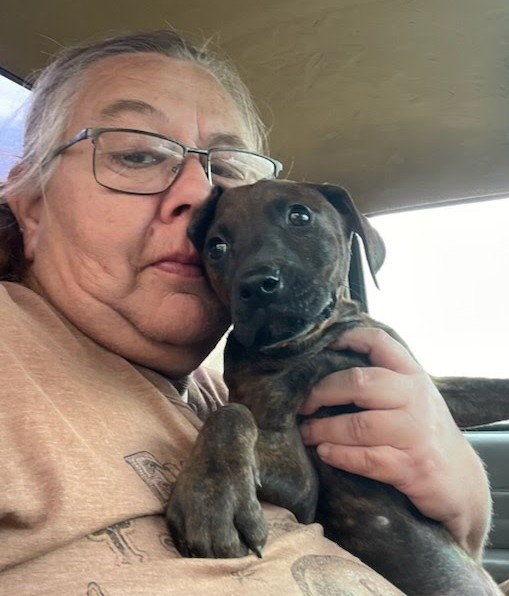
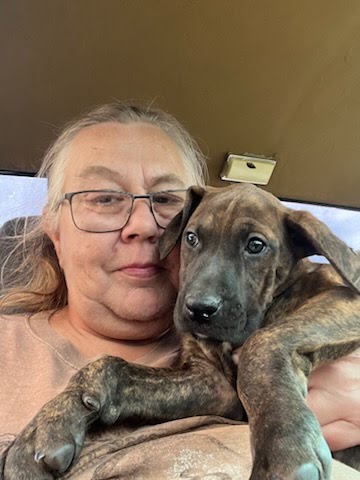
Once they were rescued from the abuser they were fostered by a regular caregiver (Cheryl) in Visalia who reached out to me directly to see if we would be able to make the flight. Of course, we couldn’t resist (I think she knew we would do it! *wink* *wink* *nudge* *nudge*).
Cheryl Caring For The PupsShe Sent These So I Couldn’t Say ‘No’
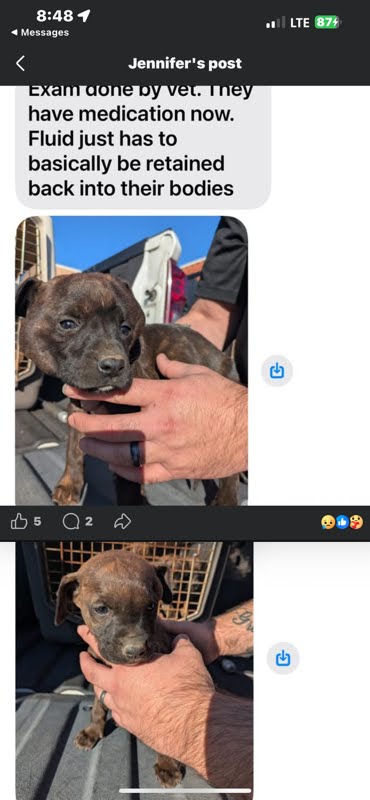
Once they had gone through their regimen of medication, which Cheryl had to provide regularly during her foster, they would be ready to travel.
Awwwwwwwwwwwwwwwwww!!!!!
The weather over the mountains was improving after a recent storm, but that, along with my wife’s work (she REALLY wanted to come along and help), made it seem like I might not be able to make the flight and offered Wednesday as an alternate.
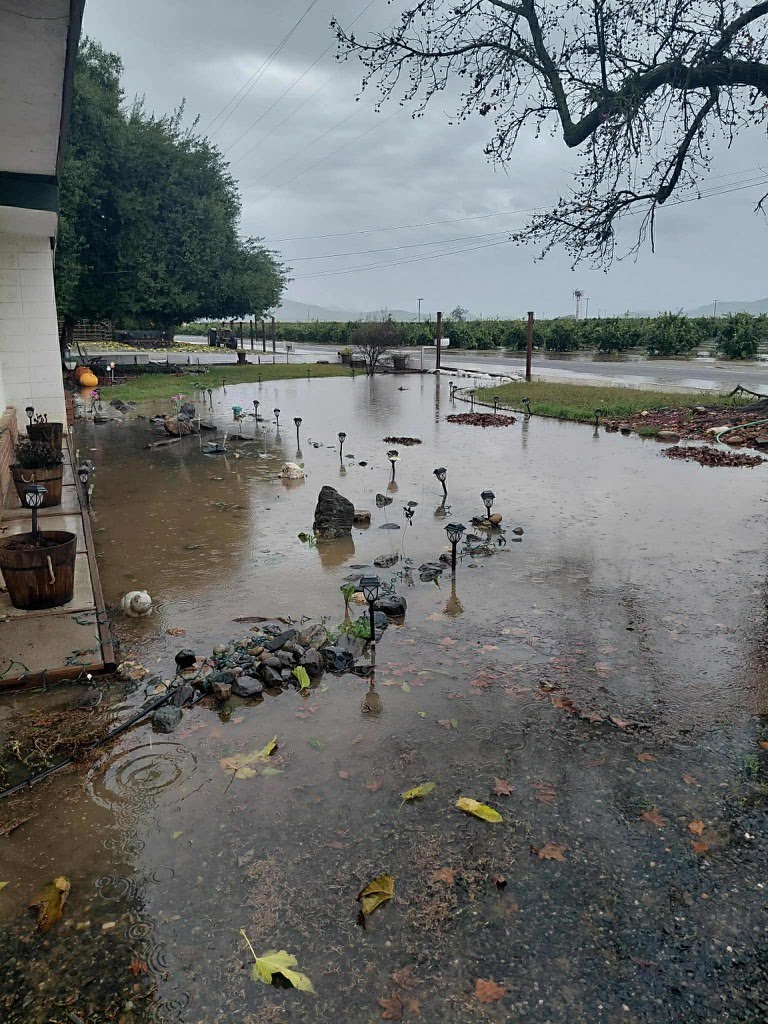
Cheryl let me know that they were dealing with flooding issues where she was at, so she really wanted to see if we could still make it happen.
Flooding At The Foster’s Ranch.
Cheryl enlisted the aid of a local volunteer transporter, Ketrena, to get the puppies to us at the airport later than we had originally hoped and planned to get there which was another problem solved.
Flight To Visalia Over The Snowy Sierras.
We arrived for a quick meet-and-greet with Ketrena and loaded up the puppies after spending about 10 minutes saying ‘hi’ to every one of them!
The Best Reward For These Flights!!!!
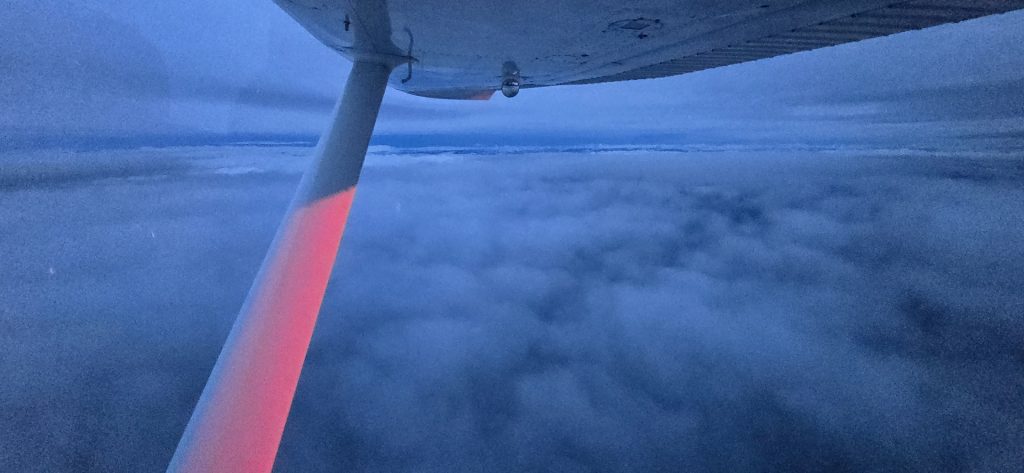
It was an uneventful flight after dark, we just needed to make it an IFR flight to punch through the clouds getting back into Carson City.
Getting Dark And Cloudy Returning Home Over The Sierras. But Thankfully, I Had The Right Airplane For This Mission.
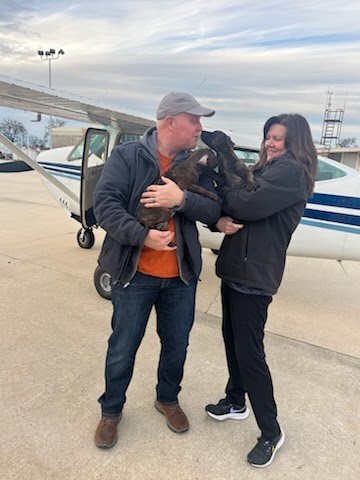
Once we landed we made contact with the Boxers And Buddies crew who were waiting patiently and got them out of the crates and onto some grass where they had an absolute ball and so they could take care of their business!
The Boxers And Buddies team already had names for them (each named after a pickle!) and very quickly posted info on the puppies on their adoption website. Their names are Pepperoncini, Gherkins, Dill, Cornichon and Bread and Butter (I didn’t know that was a name of a pickle).
There is no doubt these happy cuties will be adopted very quickly.
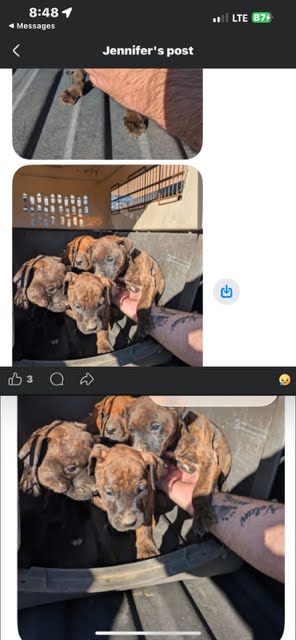
WARNING: Do NOT scroll below this line if you do not want to see how hurt these puppies were when they were rescued. I understand that some people will want to see the amount of care rescuers have to provide for these defenseless animals and how much they have had to heal.
These images were provided to me by the rescuers of these five puppies and illustrate just how cruel some “people” can be to small creatures. Whatever the personal struggles the abusers were dealing with, we were fortunate they were found and removed from that environment and then surrounded by very caring individuals.
Many shelters, like Boxers And Buddies, have an owner surrender program where these intelligent companions can find a foster and eventually a home. There was no need for this to happen.
Just barely more than a handful when they were found. But, they have recovered well and seem to be well on their way to a happy ever after!
On April 17th , 2025 while on a multi-day trip where we had flown to Santa Rosa I received notification of a rescue flight for a 3 year-old Husky girl that needed a ride from Upland, California to Reno, Nevada. Since we were returning to Reno in the next couple days this seemed like a no-brainer.
Since this would be a long flight somewhat out of our way we were able to coordinate with another pilot based in Visalia who would fly Nova from Upland to Visalia on the 21st and we would pick her up there and return to Reno.
Nova Excited After Her First Leg From Upland to Visalia.
The Run-Up is something every pilot is taught to perform in the hold pad right before takeoff, but it is seldom discussed in detail, or worse, quick and incomplete information is given as to what the purpose is for each check.
Generally, the before flight checks can be grouped into several areas or events: The first pre-flight check is the documents/compass card check (interior). The second is the walkaround checking lights, fuel and overall aircraft condition (exterior). The third is the engine startup, oil pressure check and check of the gyro instruments and compass movement as the engine warms up during taxi (engine start and electronics). Lastly is the titular ‘Run-Up’ in the hold pad (engine stress).
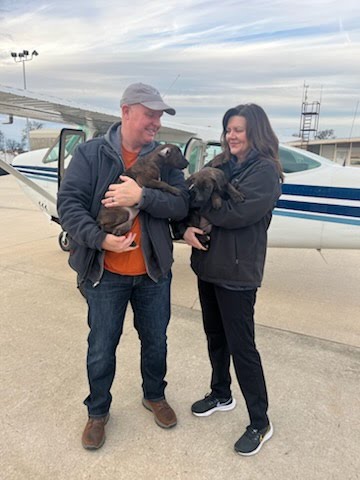
When we arrived in Visalia to meet the owner of the three puppies, she had caved in to her kids and would be keeping two of the puppies (just like my last rescue flight!), so we just had the one of the three and Rudy to transport.
When I arrived in Bend, Oregon to meet with the owner who was sending them to the “Cleft Pup Brigade” in the Auburn, California area she informed me that she fell in love with one of the pups and only needed to send one to rescue – which was great!
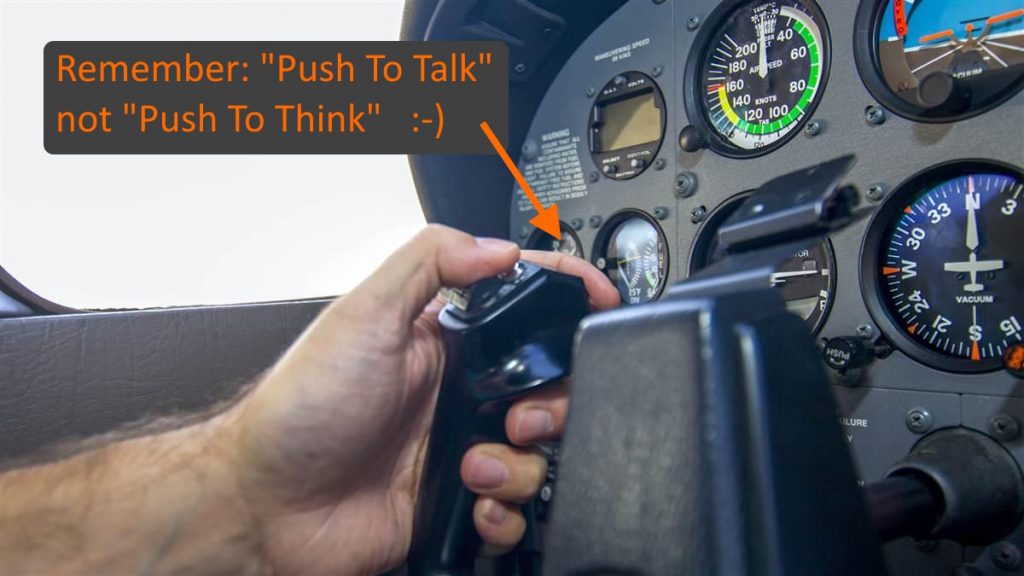
Everyone starts out flying the same way – with ZERO hours in their logbook. This means we also have ZERO time using the radio for the first time, which is essentially a common-use party line where everyone will be listening. Then the anxiety ramps up when we first need to interact with someone sitting in a control tower or in front of a radar screen in a control center on the other end of the microphone.
The source of this anxiety is that no one wants to sound silly or “dumb” in this semi-public space with fellow aviators. Everyone wants to sound professional and that they belong there with everyone else. With time and practice the flow and exchange will become familiar, predictable and more at ease. Even regular professionals will occasionally stumble and botch a clearance, but it’s just a conversation, nothing to stress about.
The FAA has published an article called “How to Talk Like a Pilot” which is a great first read before continuing with this post.
This is another topic that appears on many forums with a lot of poor assumptions being made by both pilots and instructors (but with very little in the way of facts, research or references) to back up an assertion that if one is working, but the other is not, it is still legal to fly the airplane.
Unfortunately, what contributes to the continued assumptions is that the answer isn’t as clear or obvious as it could be, since § 91.205(b) (a.k.a. ATOMATOFLAMES) uses the phrase “an approved aviation red or aviation white anticollision light system“. The generalized word “system” and the conditional word “or” leave room to the casual reader to believe having one is good enough. In addition, when referring to a copy of a C172 POH under Section 6 “Weight & Balance / Equipment List” it lists both the Flashing Beacon and the Wing Tip Strobe Light with a “-S” suffix for “Standard Equipment and not with a “-R” for “Required Equipment”. However, it should be immediately obvious that there is no way the FAA would allow airplanes to fly if those safety lights were not working.
The common ATC directive for an airplane at a towered airport to “line up and wait” is regularly used to facilitate efficient traffic flow, but at a non-towered airport this should not to be performed because, you know, safety. There also several other procedures the FAA wants to make clear.
In addition to Part 91.126, FAA Advisory Circular 90-66 was created to focus on non-towered airport flight operations and covers best practices for communications, flow and supplement information found in the AIM, paragraph 4-3-3, Traffic Patterns, and the Chapter 14 in the PHAK.
One pre flight item that is typically overlooked, brushed off or (sometimes) not taught at all is the Departure and Emergency Actions Briefing or the Pre Takeoff Briefing.
Not to be confused with a “SAFETY” briefing that should be performed just before starting the engine, the departure briefing is typically made after the ‘run up’, before moving out of the run up area and approaching the hold-short line.
The goal of a departure and emergency actions briefing is to quickly declare the planned runway used for takeoff, course of flight and altitude(s) expected. Then a quick overview of what could go wrong on take off and what actions will be taken.
This is one of the more obscure topics that pops up from time to time about an old FDC NOTAM and requires careful reading of the topic and the language used to understand it better.
There are some pilots and instructors that will reference a NOTAM from 2004 declaring that anytime an airplane is in the air it should have its second radio tuned to 121.5 and open listening to the guard channel.
However, a carful reading of the NOTAM will dispel that myth.
Before a flight begins, more importantly before the engine(s) start, there are a number of items that need to be addressed not only by rule, but also for safety’s sake and good sense.
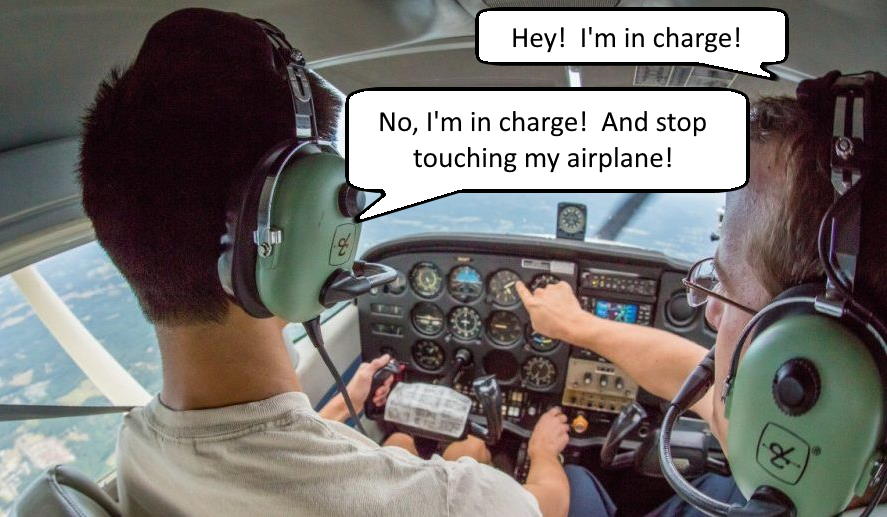
First is to declare who will be Pilot In Command of the flight. Someone (i.e. a rated pilot) is required to be in charge and taking responsibility for the flight and it can’t be a random passenger. In addition, when there are two pilots (or more dangerously, two CFIs) at the controls there needs to be a clear understanding of who is calling the shots.
Better to settle this argument before the flight begins.
Over the years of receiving and providing instruction on this I’ve developed what I’ve found to be the best method (so far) of how to handle this emergency and all the DPEs I’ve sent my students on to test with seem to agree. The acronym A-B-C-D-E covers everything.
When the dreaded phrase “Your engine just failed” is uttered by an instructor or DPE performing the A-B-C-D-E steps below will cover everything important and should be easy to remember. This procedure has been developed from instruction I’ve received, refinements I’ve learned from practice over the years, from other instructors examples or real-world situations. I will happily steal the best ideas and incorporate them into my teaching.
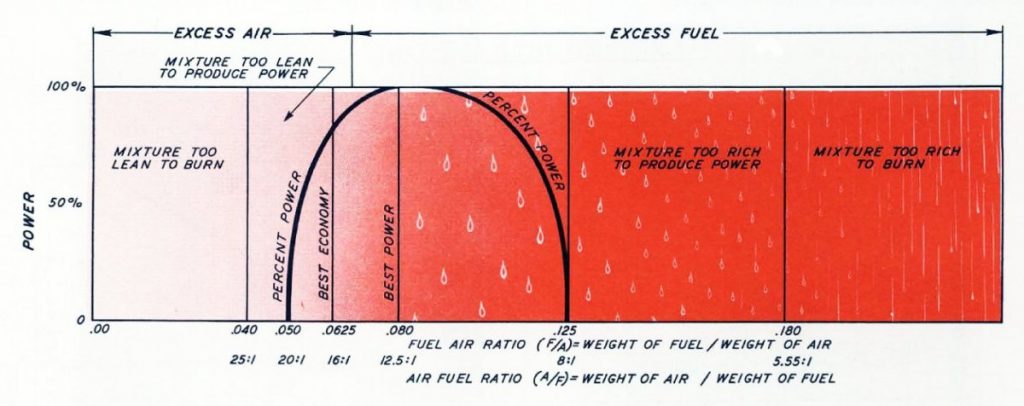
Since I began my flight training amongst the Sierra Mountain Range around Lake Tahoe with airport field elevations over 4,000′, ‘leaning the mixture’ was something I was taught from the first lesson – even though I really didn’t understand what I was doing until later on in my training.
The Global Navigation Satellite System is amazing. It allows us profound situational awareness and navigational guidance. However, it is so pervasive and reliable that many pilots have forgotten the basics of pilotage, dead reckoning and how to use the non-subscription-based radio navigation aids available on the ground.
The need to stay proficient in pilotage by being able to interpret what is seen on a sectional chart and correlate that into the world seen outside the windscreen is critical to safe flight.
Many pilots rely so heavily on the GPS and the magical ‘magenta line’ that it has become a meme:
When operating out of an non-towered (a.k.a. uncontrolled – a.k.a. ‘pilot controlled‘ – a.k.a. ‘out-of-control‘) airport there is a lot of responsibility on each pilot to know where the other airplanes are in the pattern, approaching and departing the area, and on the ground. It is also important for pilots to announce their position and brief intentions.
Many times when pilots are flying in formation or instructors are flying with students in a practice area they will say “Meet me on The Fingers.” This is when they will typically leave their primary radio tuned to CTAF, TRACON or ARTCC and tune their second radio to a frequency of 123.45 MHz to coordinate their actions.
Unfortunately, this is another common faux pas many pilots and CFIs perform and is usually born from what was taught during their initial training and were unaware that there is a more proper frequency for this type of radio traffic.
Most (if not all) flight instructors and many pilots have heard the saying that goes something along the lines of, “The fuel gauges are only required to be accurate when they’re empty and in straight-and-level flight.”
I was told this quote several times by my instructors during various points during my flight training when we dipped the tanks before each flight and found one of the fuel gauges either indicating way off the mark or had no reading at all. We would squawk it, but continue with the flight as planned.
This is a perpetuated falsehood that I also was guilty of promulgating until I did more research and found it to be flat-out wrong. Here is the proof:
Individual flight instructors are defined as a ‘flight school’.
Not just for ‘aliens’, but applies to U.S. citizens as well.
When a student switches to a new instructor or flight school they need a new endorsement.
Applies to all flight and simulator training including recurrent training.
To begin with, under ‘definitions’ in Title 49 Subtitle B Chapter XII Subchapter C Part 1552.1 the government defines a Flight School as “…any pilot school, flight training center, air carrier flight training facility, or flight instructor…” So, now that the regulations have wrapped themselves around the average, independent flight instructor, now what?